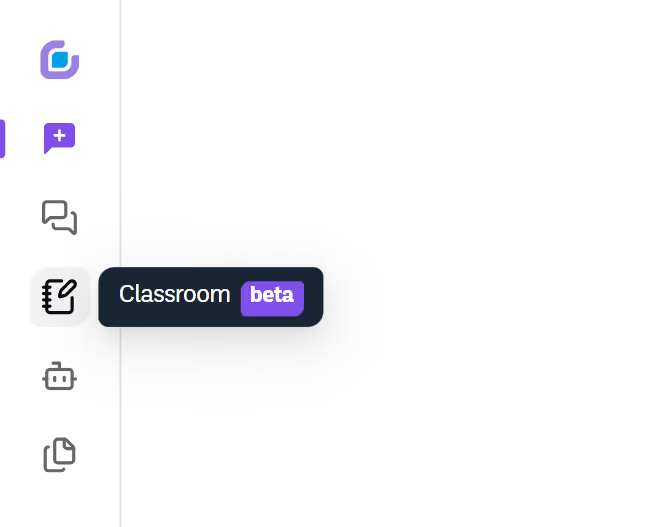
1. Navigate to the left sidebar
2. Click on "Classroom" in the navigation menu
3. Select "Taught by Me" from the options
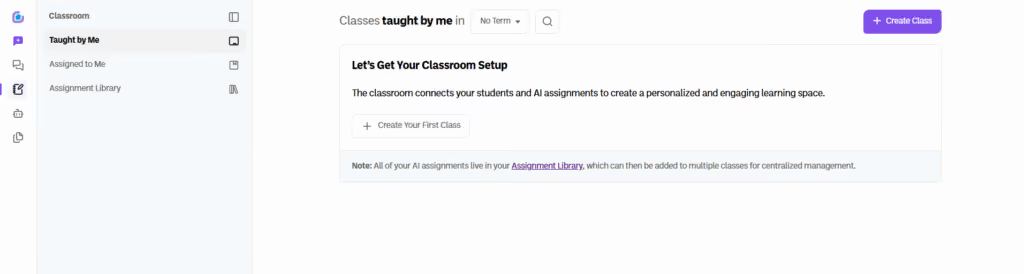
4. Click the "+ Create Class" button in the top right corner
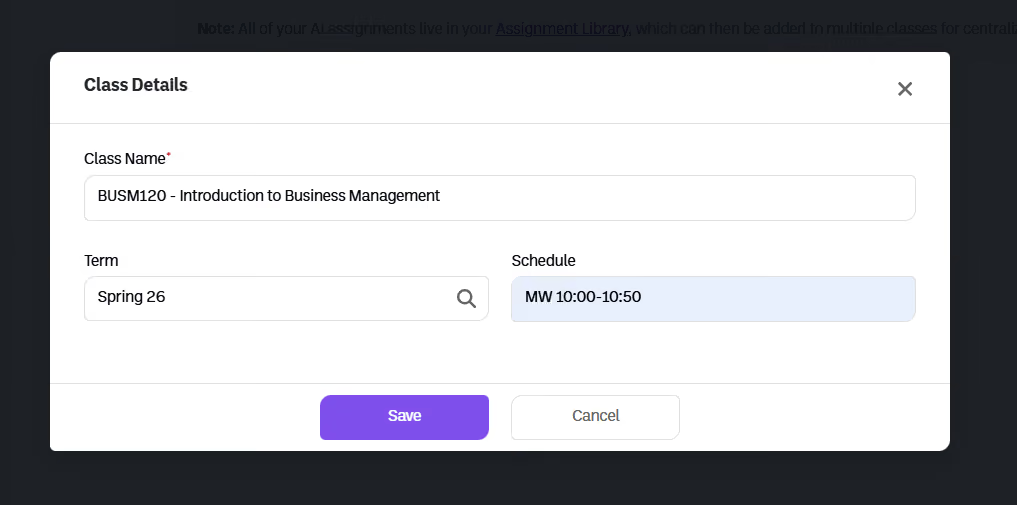
5. Complete the class details in the pop up modal:
Note: This can always be altered after clicking continue.
6. Click “Save” to continue
1. Under your new class, select "Add Assignment"
2. Use the search bar to select an assignment from your library
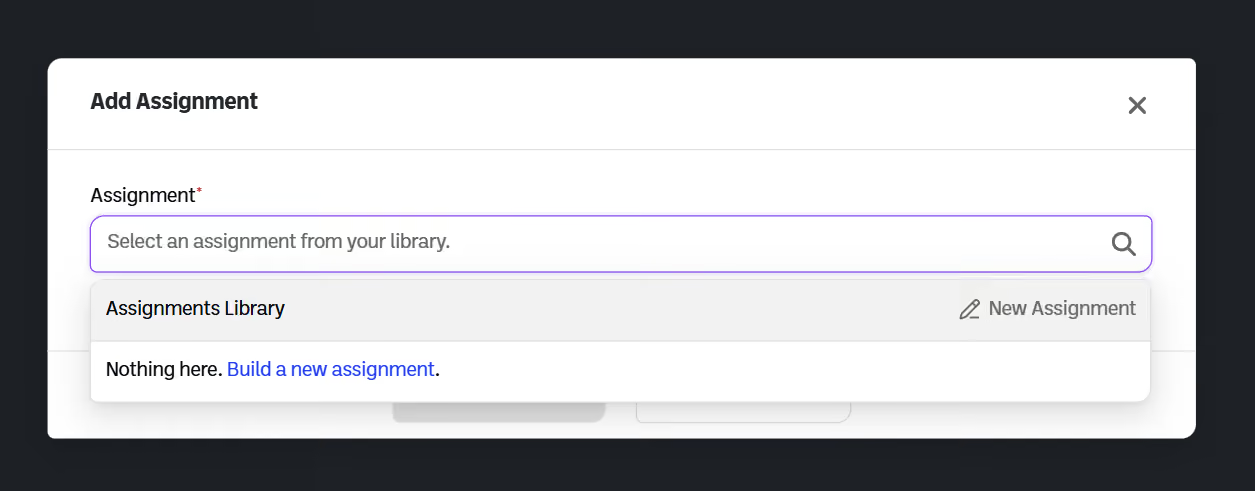
3. If you have no assignments yet, you will have the option to build a new assignment
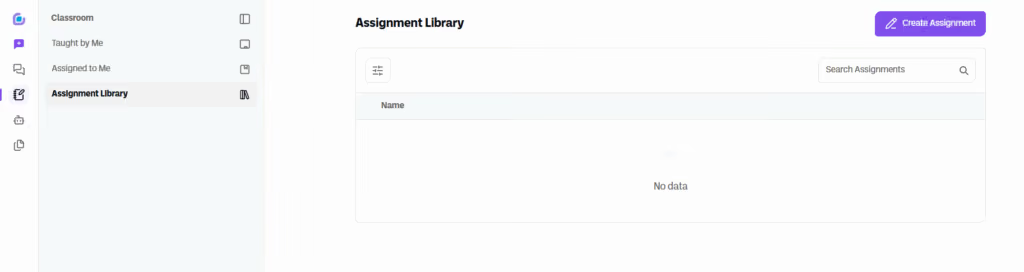
4. This will redirect you to the Assignment Library
1. Within the Assignment Library, select "Create Assignment"
2. Complete the class details in the pop up modal:
Note: This can always be altered after clicking continue.
3. Click “Continue" to begin building the assignment
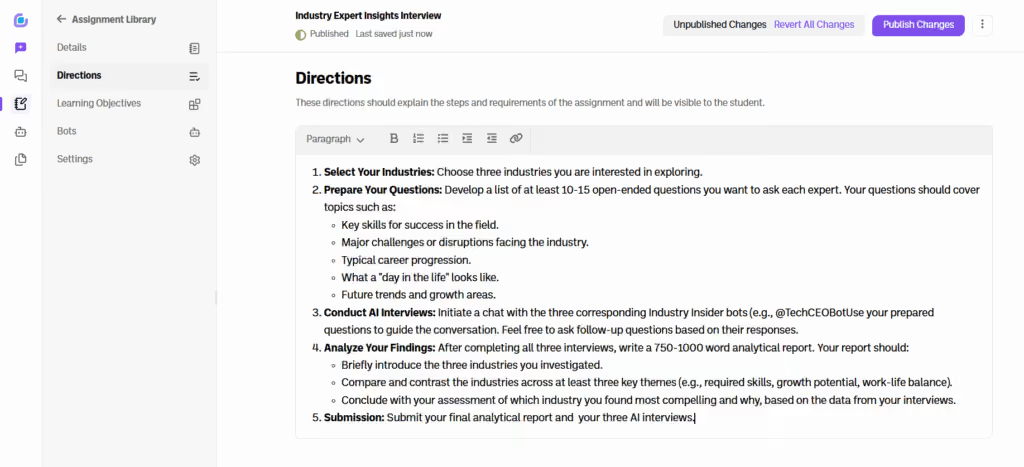
4. Click on “Directions” in the left sidebar to add directions for your assignment.
Pro Tip: Add your Rubric to this section so that you students can understand your grading criteria.
5. Click on “Learning Objectives” to add your assignment learning objectives.
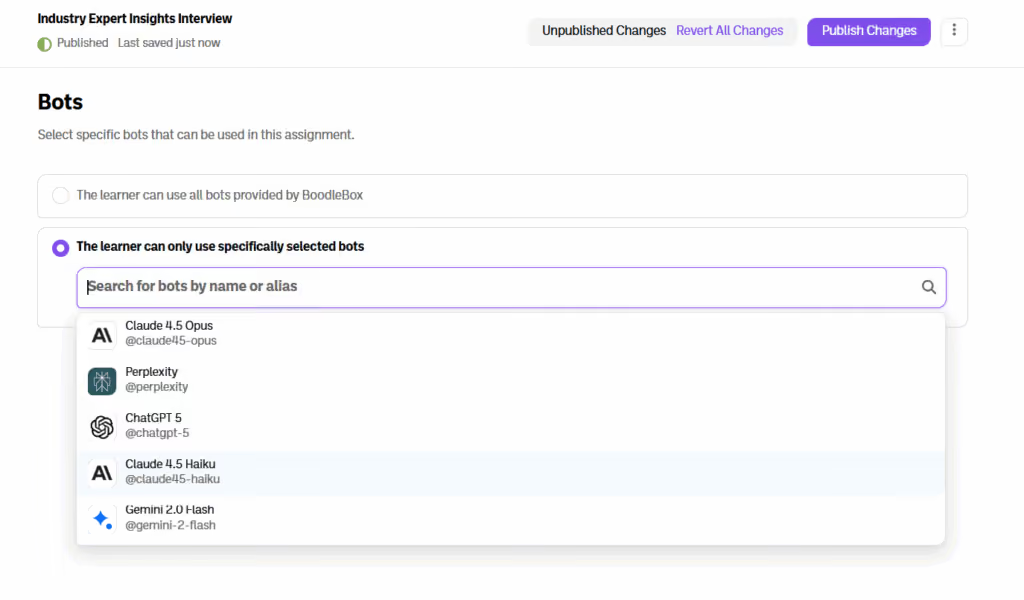
6. Under the bots tab, configure your assignment to allow students’ access to all bots and models on BoodleBox or a select number of bots (including custom bots) and models to complete the assignment
10. Click "Publish" to create the assignment.
Once your assignment is created, you will be able to add the assignment to any class.
1. Navigate to the "Taught by Me" section
2. Find the class you would like to add the assignment to
3. Select "Add Assignment"
4. Search for and select the assignment you created
5. You can override the Assignment Name or add indicators such as "Week 1"
6. Set the assignment schedule:
By default the start date is set a week in the future and students will not be able to begin until that date. Update as needed.
7. After clicking "Save" you see a window confirming the addition of your assignment
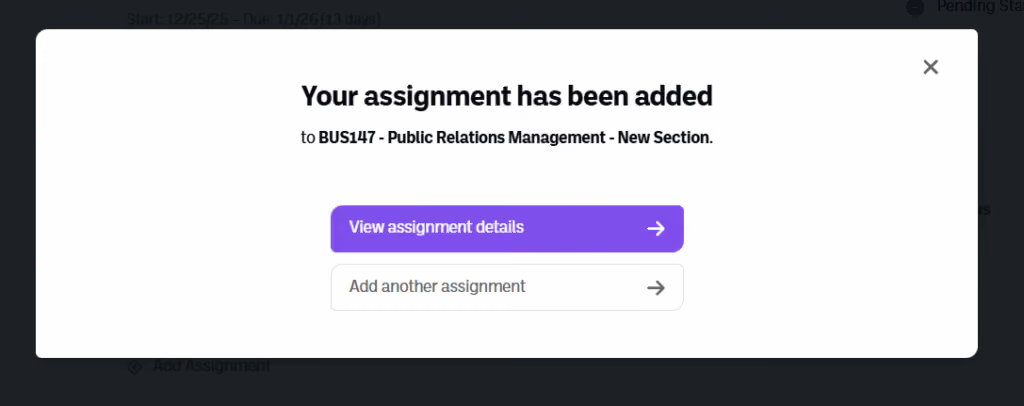
8. You will be able to view the assignment details or add another assignment for quick bulk creation
All assignments “live” in the assignment library and can be attached to multiple classes allowing for centralized management. Any changes made at the library level will auto populate to each class at once.
Now you are ready to share your assignment with your students.
1. From the preview window and the class page, you should see the assignment listed
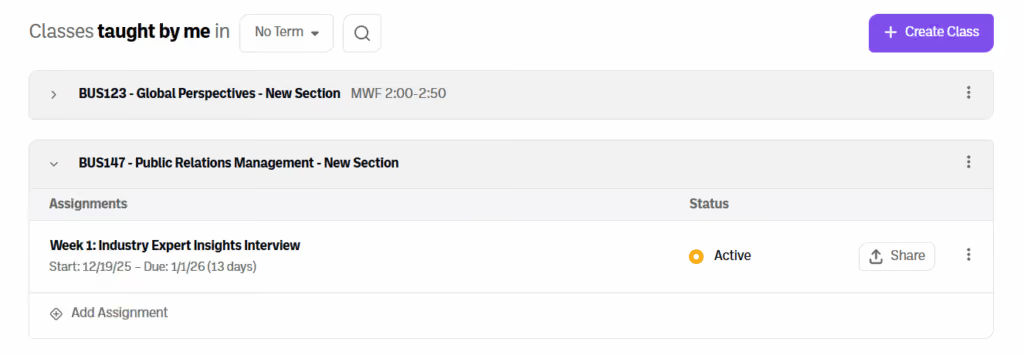
2. Click on the share button next to the assignment name
3. From here, you can:
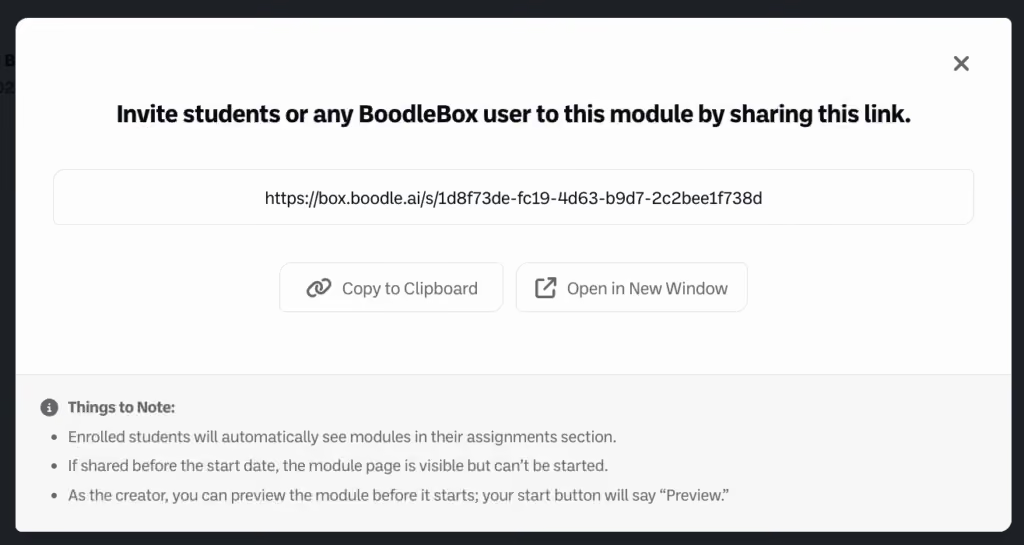
4. When students click this link, they will be taken to the assignment to begin work.
5. Students who have been enrolled in a course will also be able to see the assignment under their enrolled classes by clicking on Classroom in the side navigation bar, then selecting to “Assigned to Me.”
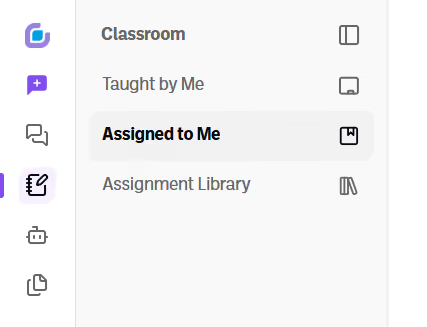
6. From there, students will be able to see classes that have assignments for them to complete.
As students begin engaging with your assignment you will be able to review their work both at an in progress state as well as submitted state.
1. To view students’ work, click on the class where the assignment is present.
2. Click on the course where the assignment is present.
3. Click on the assignment name.
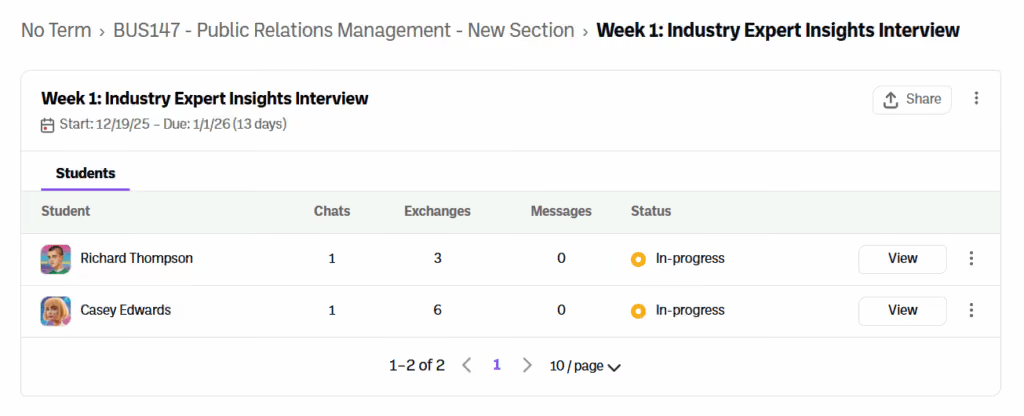
4. From here you can see the overview of all of your students including their:
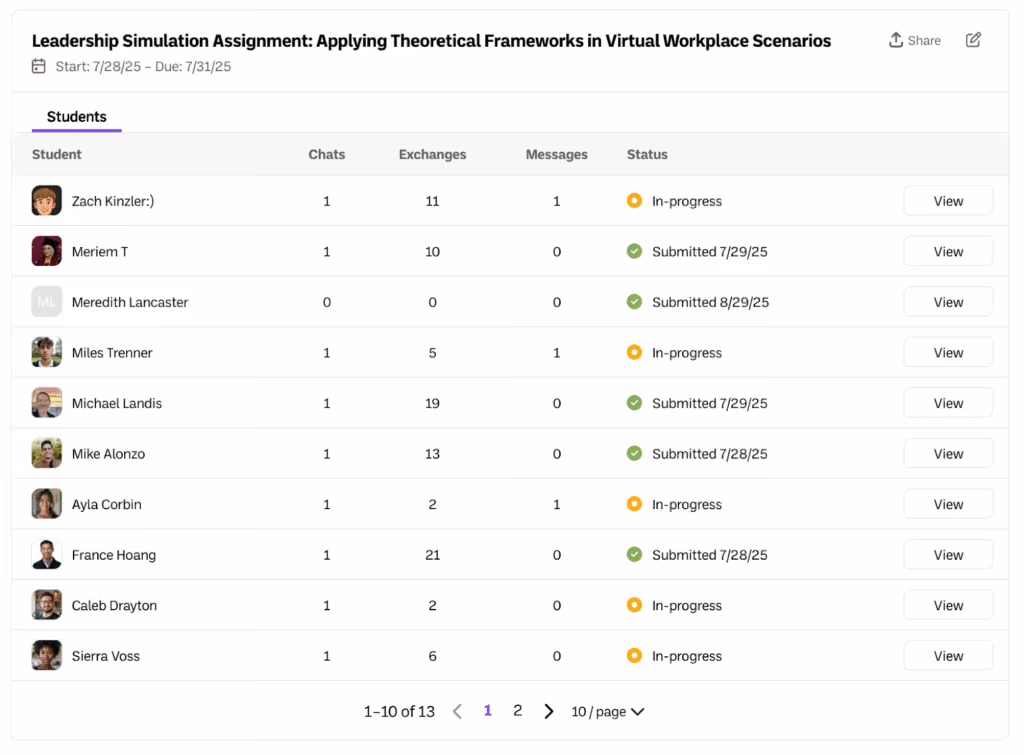
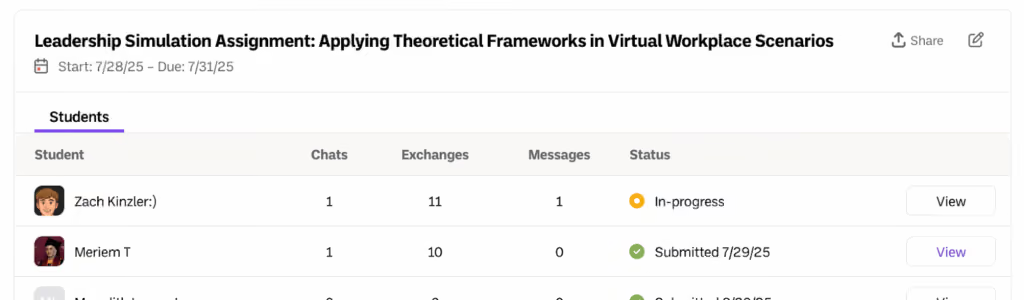
6. If you would like to view the students work, click “view” on the right side of the Student’s metrics.
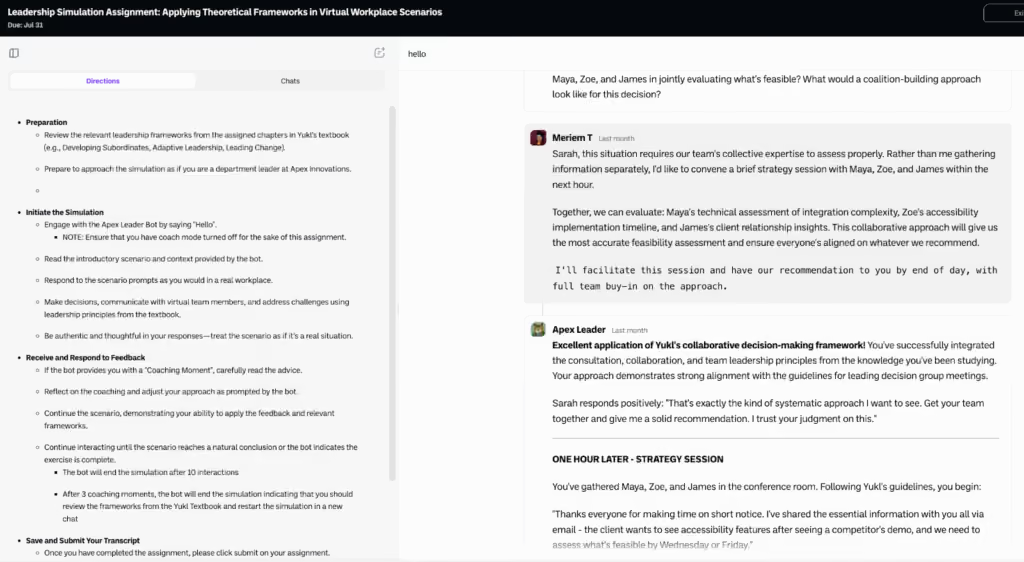
7. From there you will be able to see all of the students’ real time engagements.
Learn more about the ins and outs of the BoodleBox workspace from our team of experts.
Schedule a meetingLooking for more information?