Building custom bots in BoodleBox empowers you to create specialized AI assistants tailored to your specific needs. Whether you’re developing a teaching assistant, a research companion, or a specialized task helper, BoodleBox’s bot builder provides a flexible and intuitive platform to bring your vision to life. This guide will walk you through the complete process of creating, configuring, and optimizing your custom bot to ensure it serves its intended purpose effectively.
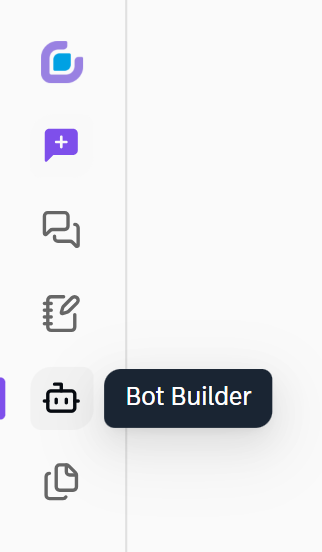
When you open the ‘+Build Bot’ window, you’ll notice 2 distinct sections: Vibe Build and Configure.

Vibe Build is a built‑in assistant that co‑designs your bot with you—right inside the builder. Just describe what you want, iterate on tone and workflow, and when you’re ready, say: “Configure this bot.” The assistant will auto‑populate the bot’s fields (expertise, role, audience, learning objectives, workflow, etc.) for you—no manual typing or copy‑pasting.
Then switch to the Configure tab to review what was filled in, make any edits, add knowledge files, choose a model, and test. It’s the fastest path from idea to a fully set‑up custom bot.
The Configure tab is where you build your bot manually—defining its details, instructions, knowledge, communications, and profile.
1. Bot Details
Bot Instructions is a blank canvas where you define your bot’s expertise, purpose, and operational approach in your own words. Think through a few key things before you start writing:
2. Bot Instructions
Bot Instructions is a blank canvas where you define your bot’s expertise, purpose, and operational approach in your own words. Think through a few key things before you start writing:
3. Knowledge
Adding knowledge to your bot transforms it from a generic AI assistant into a specialized tool with context-specific expertise. Your bot can reference uploaded materials to provide more accurate, relevant, and personalized responses.
4. Bot Communications
5. Bot Profile
When building a custom bot in BoodleBox, choosing the right AI model is crucial for optimal performance. The AI model serves as the foundation for your bot’s capabilities, determining how it processes information and generates responses. Here’s how:
Once everything is operating as expected, click ‘Publish’ to make your custom bot public. A confirmation window will open, allowing you to share the link to your custom bot. You can access this link at any time in two ways:
After you publish, you can optionally enable ‘Bot Remix’ to let yourself and others duplicate your bot and tailor it for different contexts—like new courses, teams, or assignments. Turning on Remix makes your bot function like a customizable template, so you can rapidly create new versions without rebuilding from scratch.
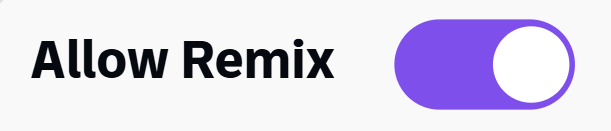
When you share a link to your custom bot (with ‘Allow Remix’ on), others can open the bot menu, select Remix, and instantly create their own editable copy. You remain in complete control—enable Remix only for the bots you choose and turn it off anytime.
Note: When a bot is remixed, the configuration and instructions carry over, but uploaded knowledge files do not transfer.
Creating a custom bot in BoodleBox is an iterative process that combines clear instruction design, thoughtful configuration, and strategic knowledge integration. Remember that the most effective bots are those that evolve based on user feedback and changing needs. Regular monitoring and refinement of your bot’s performance will help ensure it continues to provide value to its users.
Whether you’re building your first bot or expanding your existing collection, BoodleBox’s comprehensive tools and features support you in creating AI assistants that truly enhance productivity and engagement.
Learn more about the ins and outs of the BoodleBox workspace from our team of experts.
Schedule a meetingLooking for more information?